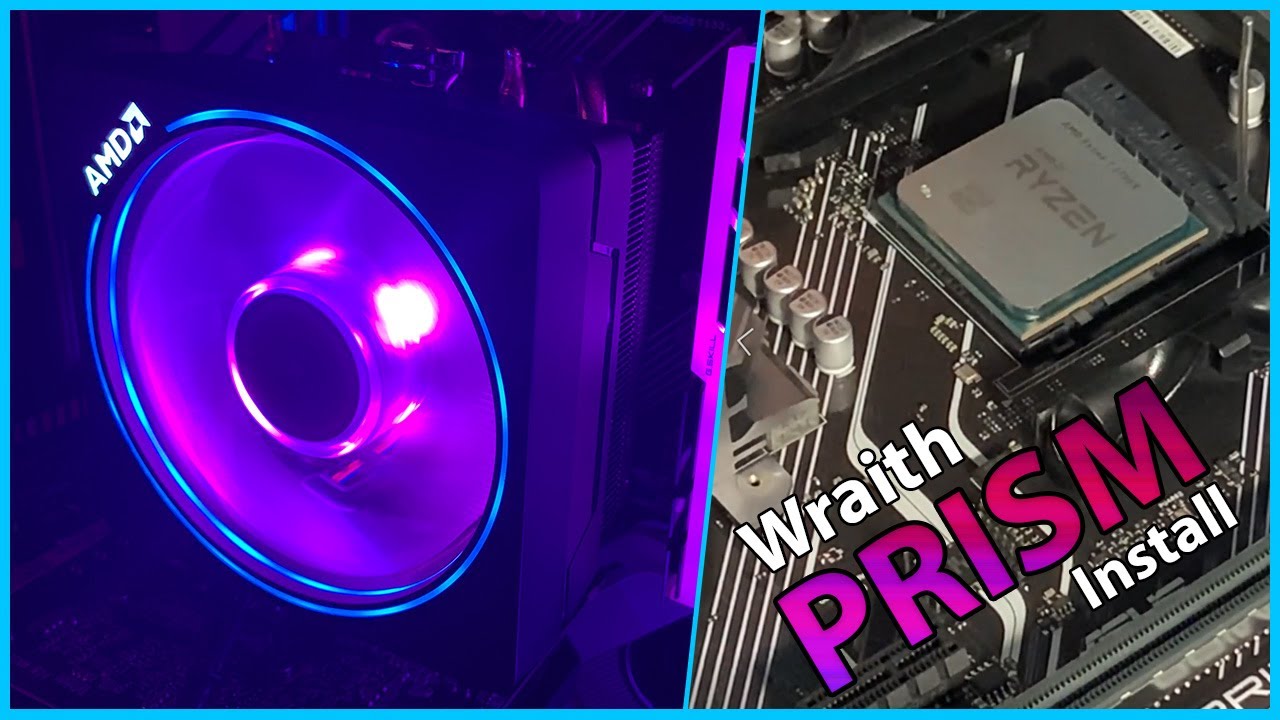


This is a guide on how to install AMD Ryzen processors and the stock Wraith Cooler included with some of the higher-end AMD processors. I use the AMD Ryzen 7 3700X. For this example, I am using the ASUS Prime X570-P motherboard.
Links below are Amazon affiliate links to the products in this video.
Purchase Your Ryzen CPU
Use one of the links below to purchase a Ryzen CPU that comes with the Wraith Prism Cooler. There is a link to the motherboard I am using. It is one of the best budget boards that will work. Bookmark this page, and I’ll see you when you have the goods! If you’re already stocked up, let's continue. Watch the video above for a step-by-step guide with some temperature testing.
-
RYZEN 7 3700X: (https://amzn.to/2WiU7Bj)
-
RYZEN 9 3900X: (https://amzn.to/2xyzNDG)
-
ASUS PRIME X570-P: (https://amzn.to/2SuoEuy)
How to Install Ryzen Processor, Total Time: 10 minutes
1. Lift Retention Arm

Place the Retention Arm in the up-and-down position.
2. Handle CPU with Care

AMD processors use a pin-based system. They are very delicate. Do not touch the pins or the top of the CPU. Touching the top of the CPU could add unwanted oils. This could have negative effects on cooling and heat transfer.
3. Locate the Triangle on the CPU

Locate the small white triangle on the bottom left of the CPU.
4. Locate the Triangle on the Board

Once you locate both triangles, match them up and use them as a guide. Match the triangles together to place the CPU in the socket of the motherboard properly.
5. Install AMD Ryzen in Socket

Carefully set the CPU in the socket of the motherboard. It will set in very easy. You will not need to push or move it at all. Doing this may damage the CPU.
6. Push Down Retention Arm

This will ensure the CPU is locked in place. Push the arm down and latch it as it is under the small plastic tab.
7. Check for Thermal Paste

The AMD Wraith Prism Cooler has pre-applied thermal paste. You can see the image above for verification. Make sure it looks to be in good shape and free of any debris.
8. Install with Logo on Top
![]()
When you place the cooler on the board, make sure the logo is on the top. In some cases, you may want to install it on the bottom for cable management reasons, depending on your board.
9. Hook Non-Clamping Side

Boards made for this CPU and Cooler will feature hooks, making installing this Wraith easy. Hook the non-clamping side first.
10. Hook the Clamping Side

The side with a clamp will have some give so you can move it over the hook. Ensure both sides are hooked, and the cooler is straight and even.
11. Lock Down the Lever

As soon as it’s clipped onto the non-lever side, you push down (LIGHTLY) on the top of the fan, then apply even pressure to the whole length of the lever and lock it into place.
12. Ensure it is Completely Locked

See the image above and verify you’ve completed this step.
13. Connect the Fan Header

Locate the CPU fan header and connect the cable. Refer to your motherboard manual if necessary.
14. Connect the RGB or USB Cable

In most cases, the USB connector will work fine. Depending on your setup, you may want to use the RGB cable. Watch the video and check the post below for more details on these two options.

https://forums.tomshardware.com/threads/amd-wraith-prism-rgb-and-usb-connectors.3479751
Congratulations! Enjoy your new system. Check out the video for some temp checks at the end and an overview of the RGB features. Also check out this article on Task Manager for some cool hidden features!
When installing the processor be sure not to touch or damage any of the pins.