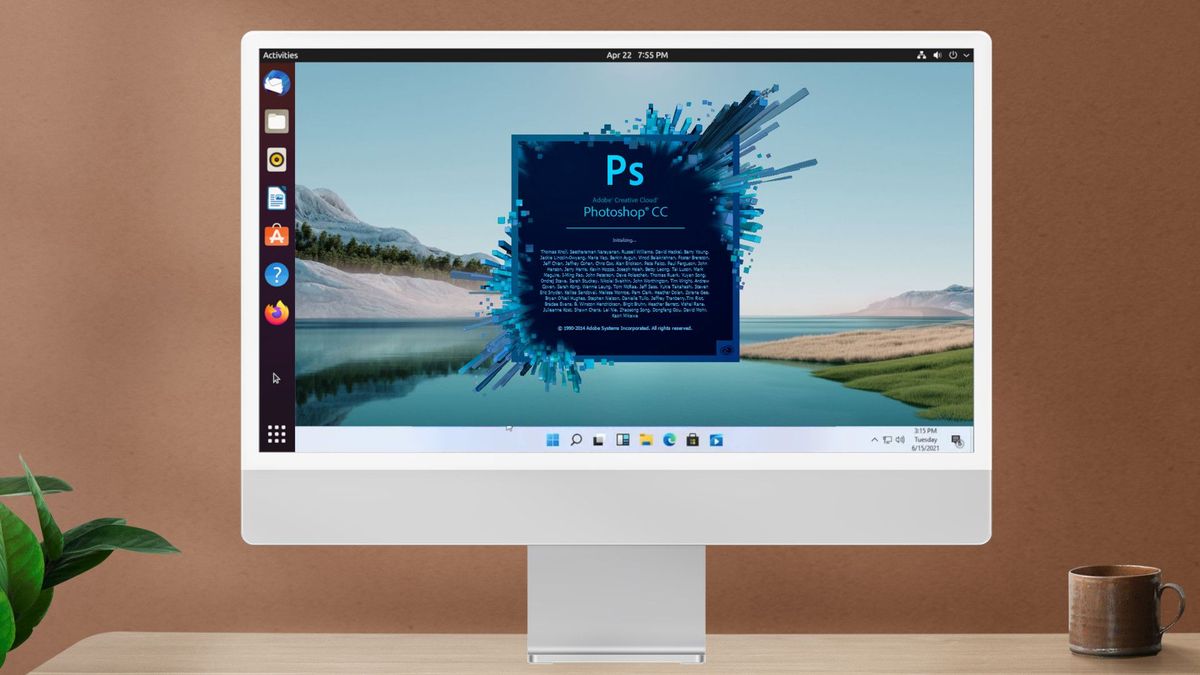
Perfect Windows 11 Virtual Machine on Linux (VMware Guide)

In this guide we will cover how to setup a Windows 11 guest virtual machine on our Linux host. We’re going to be doing this in VMware as it provides better graphics performance for gaming and creative application. This also won’t require GPU passthrough to get some decent performance. Learn more about VMware graphics options here.
Installing VMware on Linux
For Arch based systems the easiest way is though the package linked below in the AUR. You can use yay or another AUR helper.
https://aur.archlinux.org/packages/vmware-workstation
For all other Linux system you’ll first need to make sure your system has the build-essential package installed on your system. Now to download the .bundle file from their website.
https://www.vmware.com/products/workstation-player.html
Next, make sure the file is executable. Right click on the downloaded package and click on properties. When the properties window opens click on the permissions tab and check the box next to ‘allow executing file as program’. You can double click on it to open, but if that does not work, we will execute the installer from the terminal. Open your terminal application, the command below assumes your installer is in the download’s directory. Edit the command as needed.
sudo ~/Downloads/VMware-Player*
Installing Windows 11 in VMware
For these steps I recommend following the video below. This will cover the basic steps of setting up a virtual machine and installing Windows 11. During the Windows 11 set up you will need to edit some registry keys. More information on this and some other fixes below.
How to fix “This PC can’t run Windows 11” in VMware
Source: Installing Windows 11 as a guest OS on VMware Workstation Pro/Player and Fusion (86207)
- While installing Windows 11, if your computer does not meet the hardware requirements, you will see a message stating, “This PC can’t run Windows 11.” Windows 11 setup blocked due to missing hardware requirements.
- When you see the above message, press Shift+F10 (Or Shift+fn+F10) on your keyboard at the same time to launch a command prompt. At the command prompt, type regedit and press enter to launch the Windows Registry Editor.
- When the Registry Editor opens, navigate to: HKEY_LOCAL_MACHINE\SYSTEM\Setup, Right-click on the Setup key and select New > Key.
- When prompted to name the key, Type LabConfig and press enter.
- Now right-click on the LabConfig key and select New > DWORD (32-bit) value and create a value named BypassTPMCheck, and set its data to 1.
- Once you configure the BypassTPMCheck key-value under the LabConfig key, close the Registry Editor, and then type exit in the Command Prompt followed by enter to close the window. You will now be back at the message stating that the PC can’t run Windows 11. Click on the back button in the Windows Setup dialog, as shown below. Press the back button in Windows setup.
- You will now be back at the screen prompting you to select the version of Windows 11 you wish to install. You can now continue with the setup, and the hardware requirements will be bypassed, allowing you to install Windows 11.
How to fix “No 3d support is available from the host” in VMware
Source: VMware Player: No 3d support available from the host · GitHub
- Make sure 3d graphics is enabled in the guest settings and VMware Tools installed in it.
- Shut down the Windows VM and exit Player.
- Edit ~/.vmware/preferences to add…
mks.gl.allowBlacklistedDrivers = "TRUE"Why not use qemu-kvm instead of VMware Player? Because there isn’t a working Windows driver for virtual 3d accelerated graphics. The virGL project had this as a goal around five years ago (back when I went all-in on qemu-kvm myself), but has yet to deliver for Windows guests.
How to fix “Could not connect ‘Ethernet0’ to virtual network… /dev/vmmon” in VMware
You have to start (or start and enable) the vmware-networks service. Use the command below to enable and start the service. Enabled services will run on every system start, so you don’t need to do this again.
sudo systemctl enable --now vmware-networks
If you’re still having issues check out this thread: [Solved] VMWare Installation Step – Support / Virtualization – Manjaro Linux Forum
Comments ()